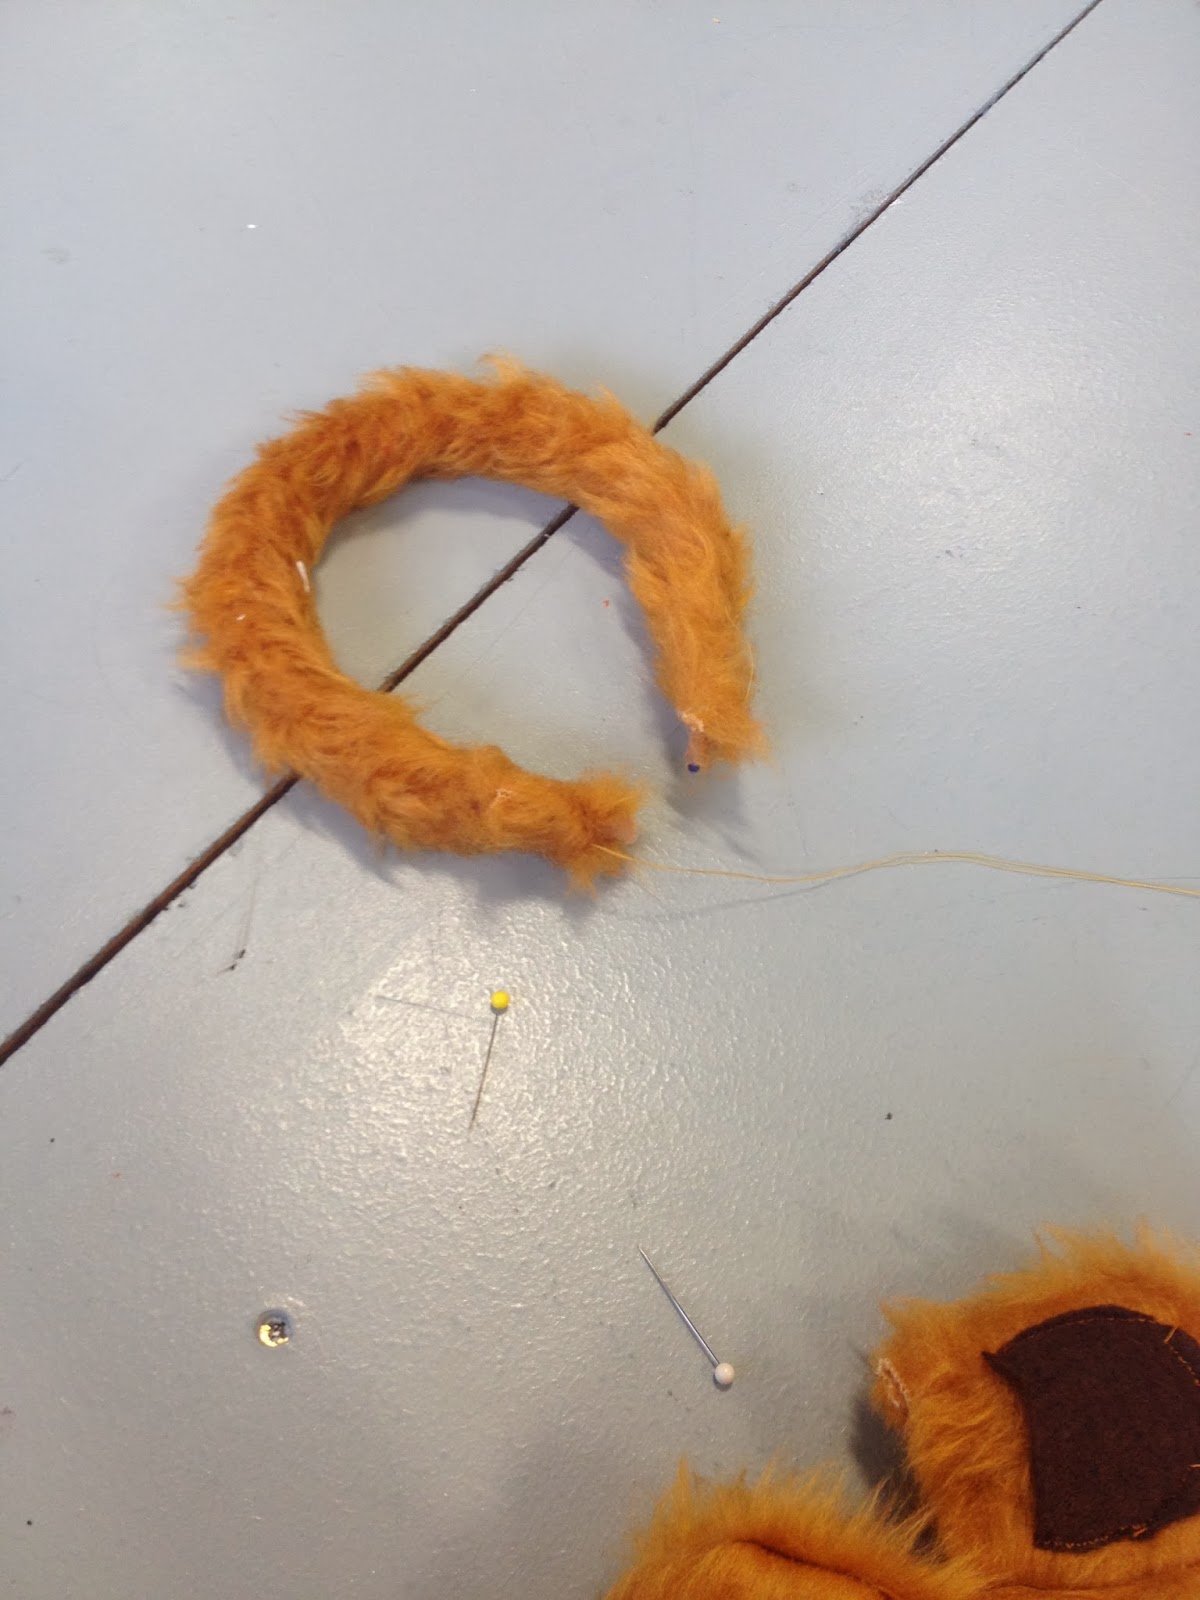
 Sowing is an important part of making my mask. I will need to sow the ears to the headband and the inner section of the ears to the ears themselves too. It is the best and only way to do this because it will make sure the ears are securely fitted and will not fall off. Because this is being made for a child, it will need to be tightly made and reasonably strong because they child would be tempted to pull and mess with it. To make it less likely to break or fall apart I will sow as much as I need to. I cannot use a glue gun because the material will not stick, so it will be ineffective.
Finally I need to make sure the headband is comfortable and that the child wearing it will not suffer any injuries. This is unlikely with mine because I will not be using sharp objects such as wire or anything of the sort. Instead I will ensure it is comfortable by covering all areas with the soft material I plan on making the head with.

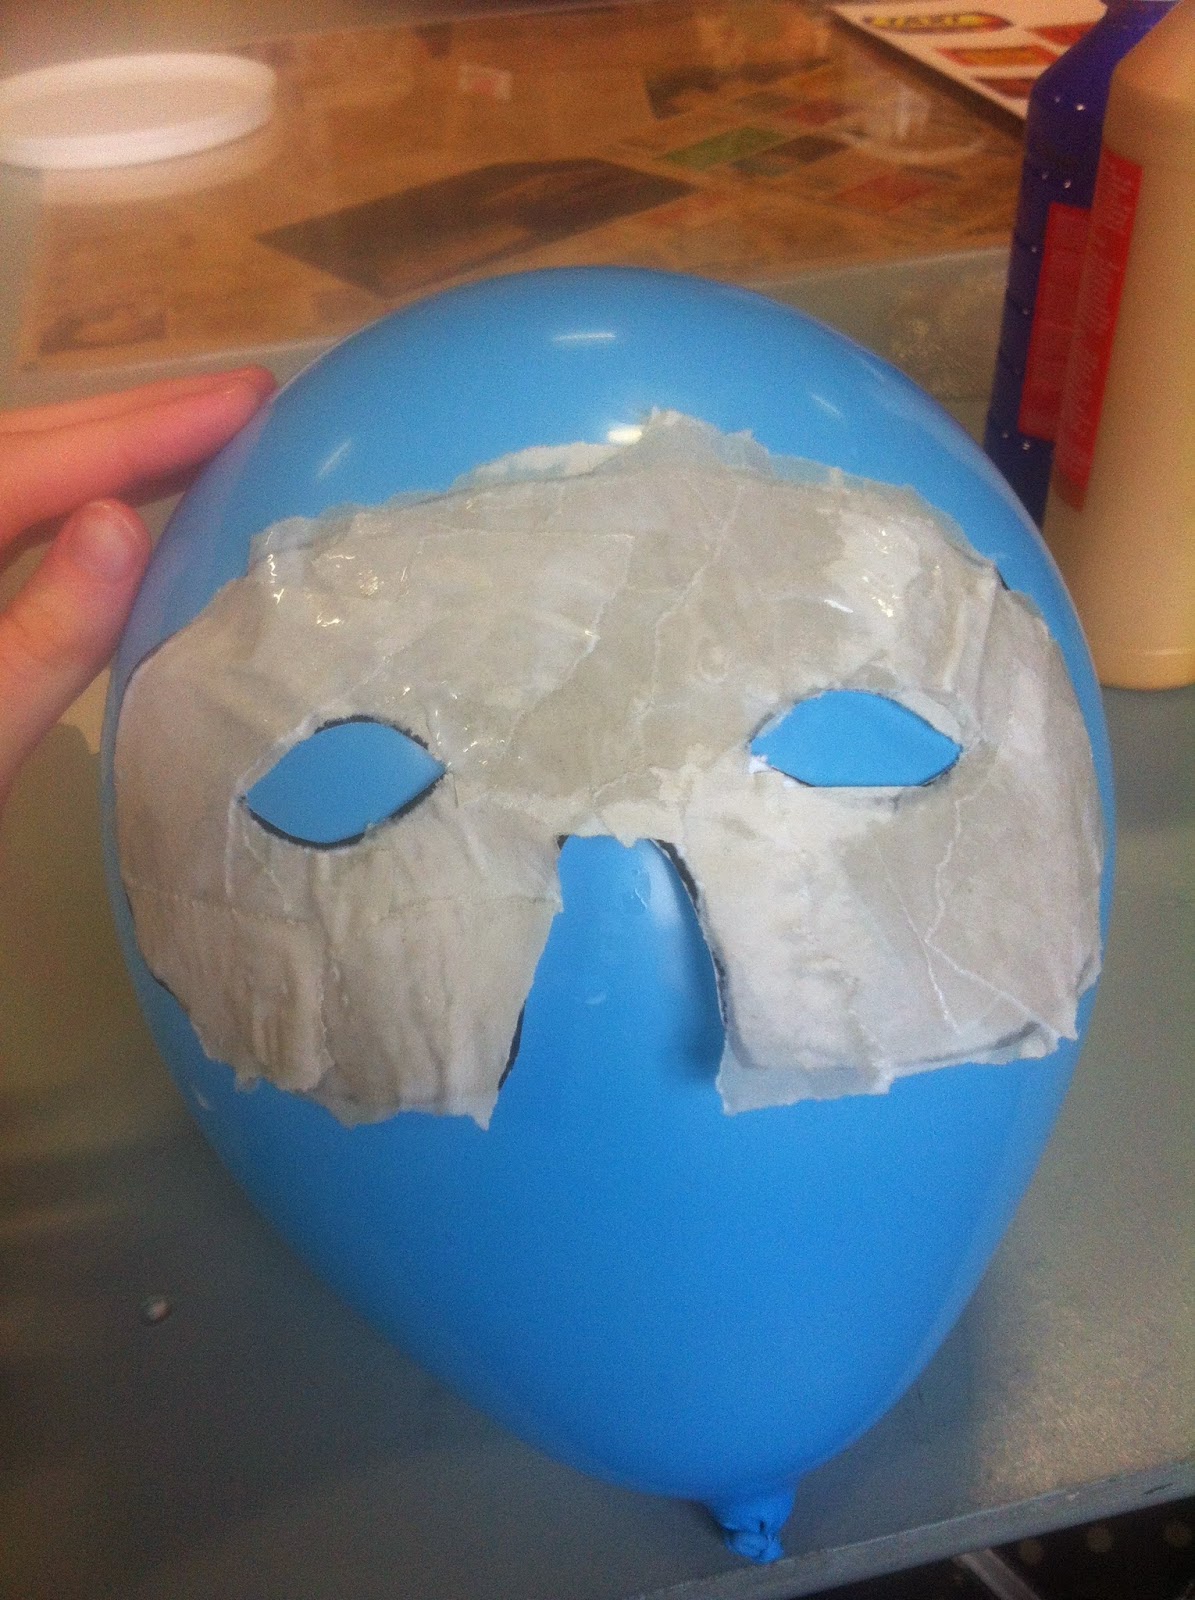
For my other mask, there are different methods that I will need to use, such as paper mache, plastering and painting. These will all be important for making my mask strong and making it look good in the end. Paper mache is the first technique. I need to put several layers on to increase the strength of the mask, giving it more support for when I go to plaster over it. I will use a paintbrush with the PVA glue and water to evenly spread the glue across the mask. Using a paintbrush means it is less likely for the balloon to pop because it is light and I will be less likely to put pressure on it.
After the paper had dried, I peel off the mask from the balloon and begin to plaster. This will give my mask the shape and thickness that I need it to be for the final stage. I can apply as much as I want to in order to make it tough. The stronger it is the less likely it is for cracks to form. I will spread the plaster across the mask in small sections, in one direction to ensure all parts are covered and so that it is even. Using a paintbrush would not be effective here because the plaster is too thick. I have to use my hands. I cannot use mod rock or any other type of plaster because I only need a small amount and it needs to be a reasonably thick coat.
Another method is using sand paper. This will give the mask a smooth finish. After that I can use a stanley knife to cut out the shape I want. I need to use a stanley knife over anything else because they are easy and small enough to cut with in relation to the size of the section I need to shape. All other sharp tools will not work as well. When this is done I can start to decorate it using paints. I will use a paintbrush and slowly cover the mask with a few coats to make the mask more durable and to completely cover the mask and darken the colour if I need to.
No comments:
Post a Comment